


Inquiry
MEDIA NAVI,Inc.
E-mail:dev1+decaprint-support@medianavi.jp
E-mail:dev1+decaprint-support@medianavi.jp
How to use
Start screen
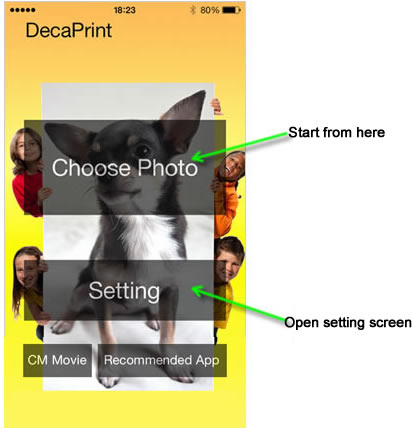
You need to change the privacy setting when you tap “Choose Photo”
then white screen displays.
Please see the FAQ for[White displays after tapping “Choose Photo”]
Please see the FAQ for[White displays after tapping “Choose Photo”]
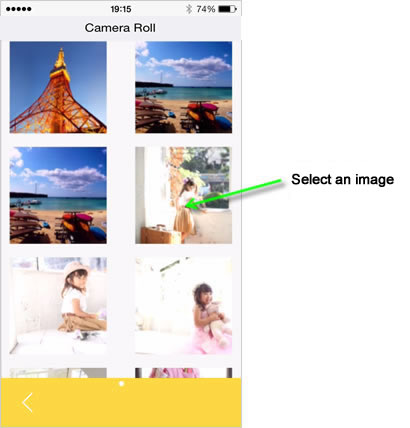
Image select screen
Adjust print area
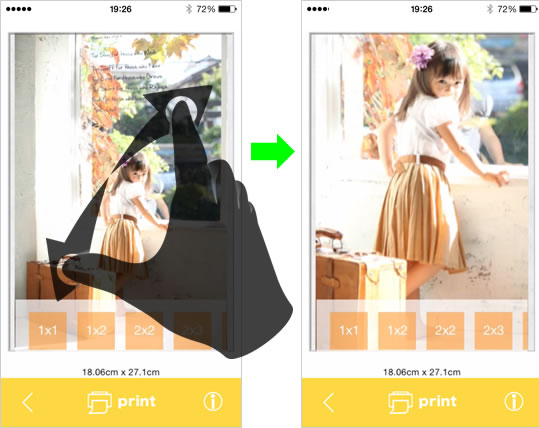
After selecting an image, you can adjust the print area.
To zoom in or out, pinch with two fingers on the image
Adjust the position of the image with one finger
To zoom in or out, pinch with two fingers on the image
Adjust the position of the image with one finger
Select the number of image plane
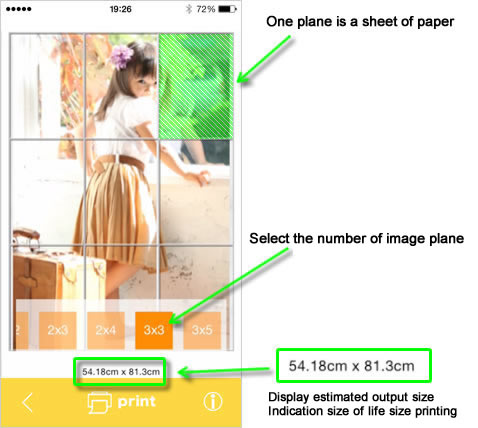
You can select from 1x1 to 10x10 with letter size or A3 size papers.
*Free for printing posters less than 3 sheets of paper
*In app purchase is necessary for printing posters more than 4 sheet of paper (4/10/2014 – present$2.99)
*Free for printing posters less than 3 sheets of paper
*In app purchase is necessary for printing posters more than 4 sheet of paper (4/10/2014 – present$2.99)
How to print
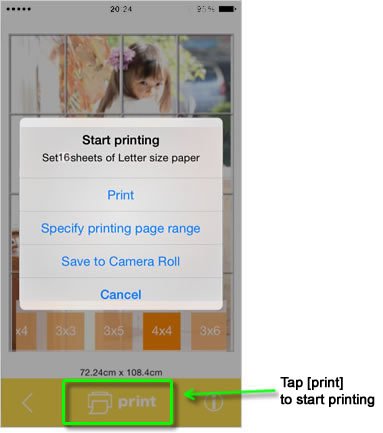
Tap [print] to start printing
| [Print]: | Go to Print Options |
| [Specify printing page range]: | Select specific pages that you want to print out. You can use this function for checking output quality. If your printer runs out ink, a paper gets jammed, or a paper gets dirty, you can select and print out the pages you desire. |
| [Save to Camera Roll]: | Divide the image by your choice of the number of image plane and save them to Camera Roll |
| [Cancel]: | Cancel printing |
Print screen

| [Printer]: | Select a printer |
| [1 copy]: | Set the numbers of copy. Tap + or – to increase or decrease |
| [Double-sided]: | Tap to enable or disable the double-sided function (If it is enabled, disable the function before you print out) |
| [Print]: | Start printing |
Specify printing page range
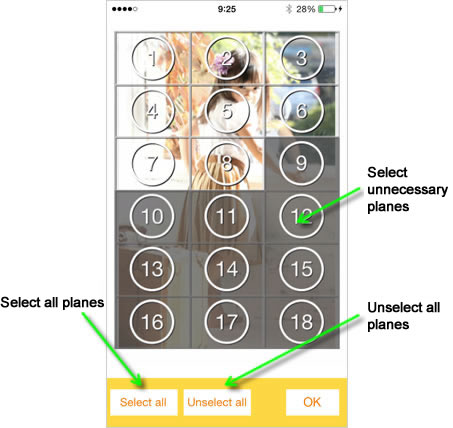
Screen of specifying printing page range
You can use this function for checking a designating output quality.
If your printer runs out ink, a paper gets jammed, or a paper gets dirty, you can select and print out the pages you desire.
You can use this function for checking a designating output quality.
If your printer runs out ink, a paper gets jammed, or a paper gets dirty, you can select and print out the pages you desire.
Setting screen
Tap setting at start up screen to modify various settings
Paper size
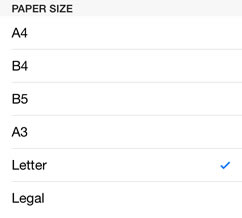
Tap to select paper size
Your printer must be compatible with selected paper size.
Your printer must be compatible with selected paper size.
Option
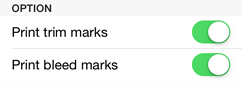
| [Print trim marks]: | print out trim marks (solid line) Use them as cutoff lines or indicate marks when you paste the papers together. |
| [Print bleed marks]: | Print out bleed marks (dotted line) Bleed marks run over trim marks for avoiding print misalignment. |
Output quality
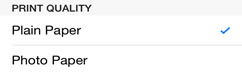
| [Plain paper]: | Print out faster than photo paper, but the quality of output is worth than Photo Paper. |
| [Photo paper]: | The output quality is enhanced than plain paper. Use gloss papers for better quality. |
Add-on function
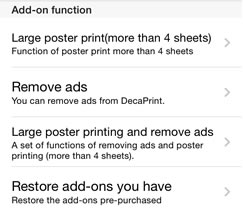
| [Large poster print (more than 4 sheets)]: | Function of poster print more than 4 sheets of paper. Available up to 10 x 10 sheets of paper |
| [Remove ads]: | You can remove ads from DecaPrint. |
| [Large poster printing and remove ads]: | A set of functions of removing ads and poster printing (more than 4 sheets of paper) |
| [Restore add-ons you have already purchased]: | Restore pre purchased add-ons If you re-install DecaPrint, you can restore the pre-purchased add-ons. |

- White screen displays after tapping “choose Photo”
- Do I have to pay every time I use an add-on function?
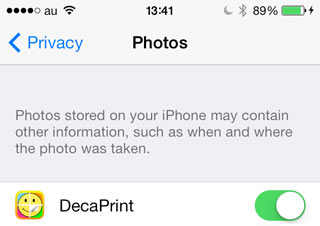
White screen displays after tapping “choose Photo”
1.Tap “Settings” from home screen
2.Tap “Privacy” then tap “Photos”
3.Enable DecaPrint
Do I have to pay every time I use an add-on function?
No. Once you purchase an add-on function, you can use it however you want.
After you purchase an add-on function, a buying history is recorded on
App store. Therefore, if you accidentally erase DecaPrint, you can
restore it for free.
You can restore an add-on function from “Restore add-ons you have” in
Setting menu of DecaPrint.
Copyright © 2014 MEDIA NAVI,Inc. All Rights Reserved. |
 |